How to Tape the Nose after Rhinoplasty?
1 – First you should go to the bathroom and wash the tape with water; you should be careful not to remove the tape while taking bath, wash the area with plenty of water and let the tape become completely wet. Then while the water comes over the face you should carefully remove the tape, while removing the tape you should prevent injury and subcutaneous bleeding.
2 – Then carefully dry the place. Sometimes due to the presence of adhesive tape the skin becomes oily, we can put some alcohol on it and let it dry, so the oil of skin is removed and pimples are reduced.
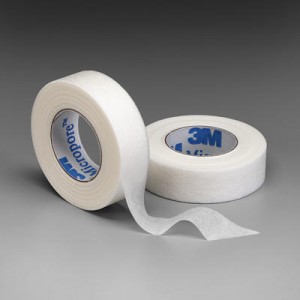
3 – Prepare German Micropore Surgical Tapes and then cut it carefully to two and a half cm dimensions, also provide four cutting length of 15 cm, now you can proceed to your taping.

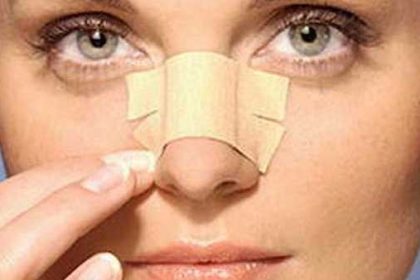
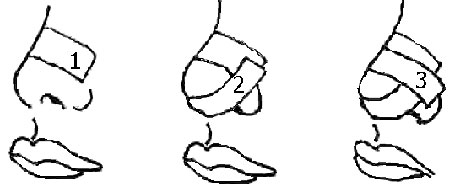
4 – First start taping from the top of nose, when you are taping the back of nose, you should carefully tape in a way that the adhesive tape covers the next fifty percent of the previous tape, and you should tape two layers of adhesive tape from the top to the tip of the nose, according to provided order.
5 – Now it’s the time for taping the nose tip, tape 15 cm of adhesive tape to both sides of nose in a way that the nose could completely be gathered at its tip and be sure to make the tip of nose upward. Twice in two slightly different places do the same thing and then with 15 cm of an adhesive tape bring the tip of the nose upward, now the only remaining task is to tidy up adhesives and picking up its excessive parts.

6 – Keep in mind that in nose surgery (rhinoplasty) taping is very important and it is better to tape your nose twice a week for two months under the supervision of your doctor.
Video Tutorial of Correct Way of Taping after Rhinoplasty

 فارسی
فارسی  العربية
  Русский
  Kurdish